Mounting a tire onto a rim may seem like a task best left to professionals, but with the right tools and guidance, it’s a skill any car enthusiast or DIY mechanic can master. Whether you’re upgrading your wheels, fixing a flat, or just curious about the process, this guide will walk you through the steps with plenty of tips and insights to make the job smoother and safer.
The Basics and Common Challenges
Before diving into the process, let’s address some common questions and concerns:
- Why is mounting a tire tricky? Mounting a tire involves managing tight fits between the tire’s bead (the inner edge) and the rim. Without proper tools or technique, you risk damaging the tire, scratching the rim, or worse—injuring yourself.
- What tools do I need? You’ll need tire levers or pry bars, a valve core removal tool, an air compressor, and a lubricant like dish soap or a specialized tire lubricant. Optional but helpful tools include a bead breaker and a tire seating tool.
- Can I really do this myself? Absolutely! While it requires patience and effort, mounting a tire is manageable with the right guidance. Plus, you’ll save money and gain invaluable knowledge about your vehicle.
Step-by-Step Guide to Mounting a Tire on a Rim
Tools and Materials:
- Tire levers or pry bars
- Valve core removal tool
- Lubricant (e.g., dish soap and water mix)
- Air compressor
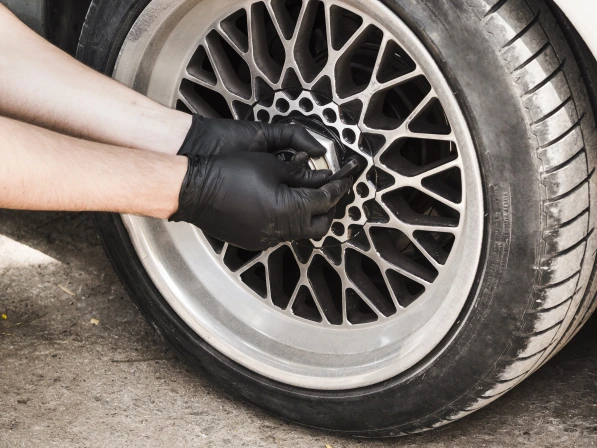
- Safety glasses and gloves
Procedure:
- Inspect and Prepare the Rim and Tire:
- Compatibility Check: Ensure the tire and rim sizes are compatible. Mismatched sizes can lead to improper seating and potential safety risks.
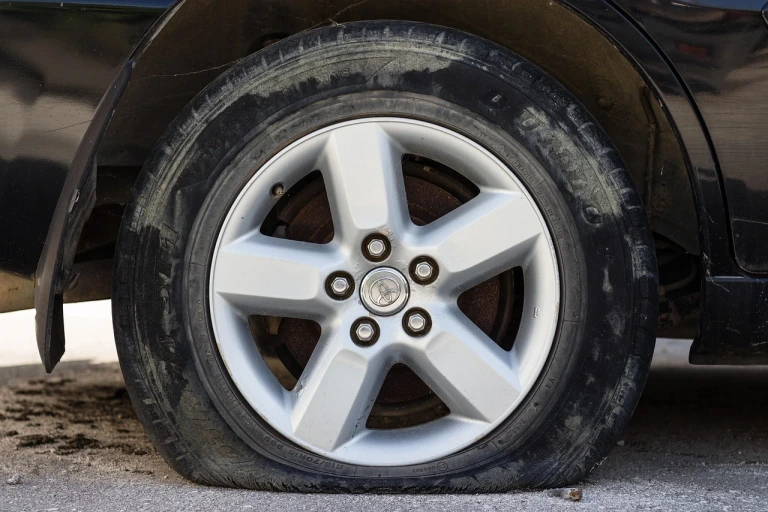
- Rim Inspection: Examine the rim for any signs of damage, such as cracks, dents, or bends. A damaged rim can compromise the tire’s seal and overall safety.
- Tire Inspection: Check the tire for defects, including cuts, punctures, or bulges. Using a compromised tire can lead to failure during operation.
- Cleaning: Thoroughly clean both the rim and tire bead areas to remove dirt, debris, and old lubricant. A clean surface ensures a proper seal and reduces the risk of leaks.
- Lubricate the Tire Bead and Rim:
- Application: Apply a generous amount of lubricant to the tire beads (the inner edges of the tire) and the corresponding areas of the rim. This reduces friction, facilitating easier installation and proper seating.
- Avoid Over-Lubrication: While lubrication is essential, excessive amounts can cause the tire to slip during mounting or initial use. Apply evenly and moderately.
- Position the Tire on the Rim:
- Alignment: Lay the rim flat on a stable surface with the front side facing up. Align the tire over the rim, ensuring that the valve stem aligns with the designated hole in the rim.
- Initial Placement: Place the lower bead of the tire onto the rim at an angle, starting opposite the valve stem. This positioning allows for easier manipulation of the tire onto the rim.
- Mount the First Bead:
- Manual Pressure: Using your hands, press the tire’s lower bead over the rim’s edge, working around the circumference. Applying consistent pressure helps seat the bead without causing damage.
- Use of Tire Levers: If manual pressure is insufficient, utilize tire levers to gently pry the bead over the rim. Insert the lever between the tire bead and rim, and carefully work around the tire, ensuring no damage to the bead or rim surface.
- Mount the Second Bead:
- Positioning: With the first bead seated, angle the tire so that the upper bead approaches the rim’s edge. Begin at a point opposite the valve stem to maintain balance.
- Lever Assistance: Employ tire levers to guide the second bead over the rim, working incrementally around the tire. Take care to avoid pinching the inner tube (if applicable) or damaging the tire bead.
- Inflate the Tire:
- Valve Core Removal: Remove the valve core using the appropriate tool to allow for rapid air intake and facilitate bead seating.
- Initial Inflation: Attach the air compressor to the valve stem and begin inflating. As the tire inflates, the beads should audibly “pop” into place, indicating proper seating.
- Safety Precaution: Stand clear of the tire’s trajectory during inflation to avoid injury in case of bead failure.
- Reinstall Valve Core: Once the beads are seated, reinstall the valve core to secure the valve stem.
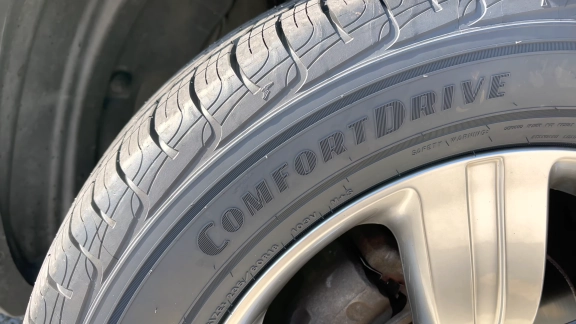
- Final Inflation: Continue inflating the tire to the manufacturer’s recommended pressure, as indicated on the tire sidewall or vehicle placard.
- Final Checks:
- Seating Verification: Inspect the tire to ensure that both beads are evenly seated around the rim. An uneven bead can cause vibrations or tire failure.
- Leak Test: Apply a soapy water solution around the bead area and valve stem to check for air leaks. Bubbles will indicate escaping air, necessitating re-seating or valve inspection.
- Balancing (Optional but Recommended): For optimal performance and longevity, have the mounted tire balanced using appropriate equipment. Proper balancing reduces vibrations and uneven tire wear.
Additional Tips:
- Temperature Considerations: Mounting tires in a warmer environment can make the rubber more pliable, easing the installation process.
- Avoiding Rim Damage: Utilize rim protectors or plastic-coated tire levers to prevent scratching or damaging alloy rims during the mounting process.
- Proper Tool Use: Ensure that all tools are in good condition and appropriate for the task to maintain safety and efficiency.
By meticulously following these steps and considerations, you can achieve successful tire mounting, enhancing both vehicle performance and safety.
Common Questions and Answers
Q: What if the tire won’t seat properly? A: If the beads won’t seat, deflate the tire, reapply the lubricant, and try again. Ensure the tire is evenly positioned on the rim before inflating. For stubborn cases, a bead seating tool can help.
Q: Is it okay to use dish soap as a lubricant? A: Yes, dish soap mixed with water is a common and effective DIY lubricant. However, if you’re mounting multiple tires or working frequently, invest in a specialized tire lubricant.
Q: How do I avoid scratching my rims? A: To minimize damage, use plastic-coated tire levers or cover the levers with tape. Working slowly and carefully is key.
Q: Can I mount a low-profile tire myself? A: Low-profile tires are more challenging due to their stiff sidewalls. While it’s possible, you may need extra tools like a bead breaker or professional assistance.
Q: Why does my tire lose air after mounting? A: This could be due to improper seating, a damaged valve stem, or debris between the bead and rim. Remove the tire, clean the area, and remount to resolve the issue.
Q: Do I need to balance the tire after mounting? A: Yes, balancing ensures even weight distribution, reducing vibrations and uneven wear. While you can’t balance tires at home without specialized equipment, most tire shops offer this service.
Q: What safety precautions should I take? A: Always wear safety glasses and gloves. Avoid over-inflating the tire, as this can cause the bead to blow out violently. If using a bead seating tool, follow all safety instructions carefully.
Q: Can I reuse old tires or rims? A: As long as both are in good condition—no cracks, excessive wear, or damage—they can be reused. However, inspect them thoroughly before mounting.
Conclusion
Mounting a tire on a rim is more than just a task—it’s a rite of passage for car enthusiasts.
While the process requires effort and attention to detail, the satisfaction of doing it yourself is unmatched. Whether you’re prepping your wheels for a road trip, hitting the track, or simply learning for the joy of it, this guide has you covered.
Remember, the road is a story waiting to be written, and every tire you mount is another chapter in your automotive journey. So gear up, stay safe, and keep the spirit of the drive alive. And hey, if you found this guide helpful, stick around—there’s more where this came from. See you on the road, fellow car lover!