Apart from tire rotation, maintaining appropriate tire pressure is also essential for the safety of your car. Improper tire pressure can damage your car tires. Your tires might start making weird noises. Plus, it can also lead to costly tire replacements.
So, proper tire inflation is a crucial aspect of vehicle maintenance. Understanding how to inflate car tires correctly ensures optimal fuel efficiency, longevity, and overall driving comfort.
In this guide, we’ll explore the step-by-step process of inflating car tires. So, let us get into it!
How to Inflate Car Tires at Home?
Now, let us explore in depth what it takes to inflate car tires at home. Here is a detailed step-by-step guide for your ease:
Step 1: Check the Recommended Tire Pressure
To ensure proper tire inflation, it’s crucial to determine the recommended tire pressure for your specific vehicle.
This information is typically found in your vehicle’s manual or on a sticker located on the driver’s side doorjamb. Understanding and adhering to these guidelines is key to achieving optimal performance and safety.
Step 2: Locate Manufacturer’s Recommendation
The manufacturer’s recommendation for tire pressure is a precise figure determined through extensive testing.
Using this recommended pressure is essential, as it accounts for factors such as the vehicle’s weight distribution, ensuring a safe and comfortable driving experience.
Step 3: Check Vehicle Manual or Door Jamb for Guidelines
Referencing your vehicle’s manual or the door jamb sticker is a straightforward process. Open your car door, and you’ll likely find a sticker containing important details, including the recommended tire pressure for both the front and rear tires.
If the information isn’t on the doorjamb, consult your vehicle manual for accurate and vehicle-specific tire inflation guidelines.
Step 4: Park in a Safe Location
Before starting the tire inflation process, it’s essential to park your vehicle in a safe and suitable location. This ensures stability during the inflation process and reduces the risk of accidents. Follow these guidelines to choose an appropriate spot.
Step 5: Choose a Flat and Stable Surface
Select a flat and stable surface for parking, such as a level driveway or parking lot. Avoid areas with a noticeable slope, as this can affect the accuracy of pressure readings and make the inflation process more challenging. Ensuring a level surface provides a stable foundation for safe tire inflation.
Step 6: Ensure the Parking Brake is Engaged
Once parked, engage the parking brake to prevent the vehicle from moving during the tire inflation process. The parking brake adds an extra layer of safety, especially if you’re working on a slope or uneven surface. Confirming that your vehicle is securely parked enhances your overall safety while inflating the tires.
Step 7: Remove Valve Stem Caps
Before measuring and adjusting tire pressure, it’s essential to remove the valve stem caps. These small caps protect the valve stem from dirt and debris, ensuring a proper seal. Follow these steps to remove the valve safely stem caps.
Step 8: Unscrew Caps from Each Tire
Begin by unscrewing the valve stem caps from each tire. These caps are typically hand-tightened and can be removed effortlessly.
Place the caps in a secure location, such as a pocket or the center console, to avoid misplacement. This step allows easy access to the valve stems for the subsequent pressure measurements and adjustments.
Step 9: Place Caps in a Safe Location
While inflating the tires, it’s crucial to keep the valve stem caps in a safe location. Placing them in a designated spot ensures that they will be found during the process.
After completing the inflation, remember to screw the valve stem caps back onto the valve stems securely to maintain the integrity of the seals.
Step 10: Use Tire Pressure Gauge
Measuring tire pressure accurately requires the use of a tire pressure gauge. This essential tool allows you to determine the current pressure and assess whether adjustments are needed. Let’s explore the proper use of a tire pressure gauge.
Step 11: Press the Gauge onto the Valve Stem
Place the tire pressure gauge onto the valve stem, ensuring a firm connection. Hold the gauge in place for a moment to allow the pressure reading to stabilize. The gauge will provide a numerical reading corresponding to the current air pressure in the tire.
Step 12: Read Pressure Display
Observe the pressure display on the gauge. The reading represents the air pressure within the tire in pounds per square inch (psi).
Make a note of each tire’s pressure, and compare it to the manufacturer’s recommended values to determine whether inflation or deflation is necessary.
Step 13: Repeat for All Tires
Repeat the process for each tire on your vehicle. Checking and recording the pressure in all four tires is essential for maintaining balanced performance and even tire wear. Take note of any significant variations between the tires, as this information will guide the inflation process.
Step 14: Connect Air Compressor
Now that you’ve measured the tire pressure, it’s time to connect the air compressor for inflation. Properly connecting the compressor ensures a smooth and efficient inflation process.
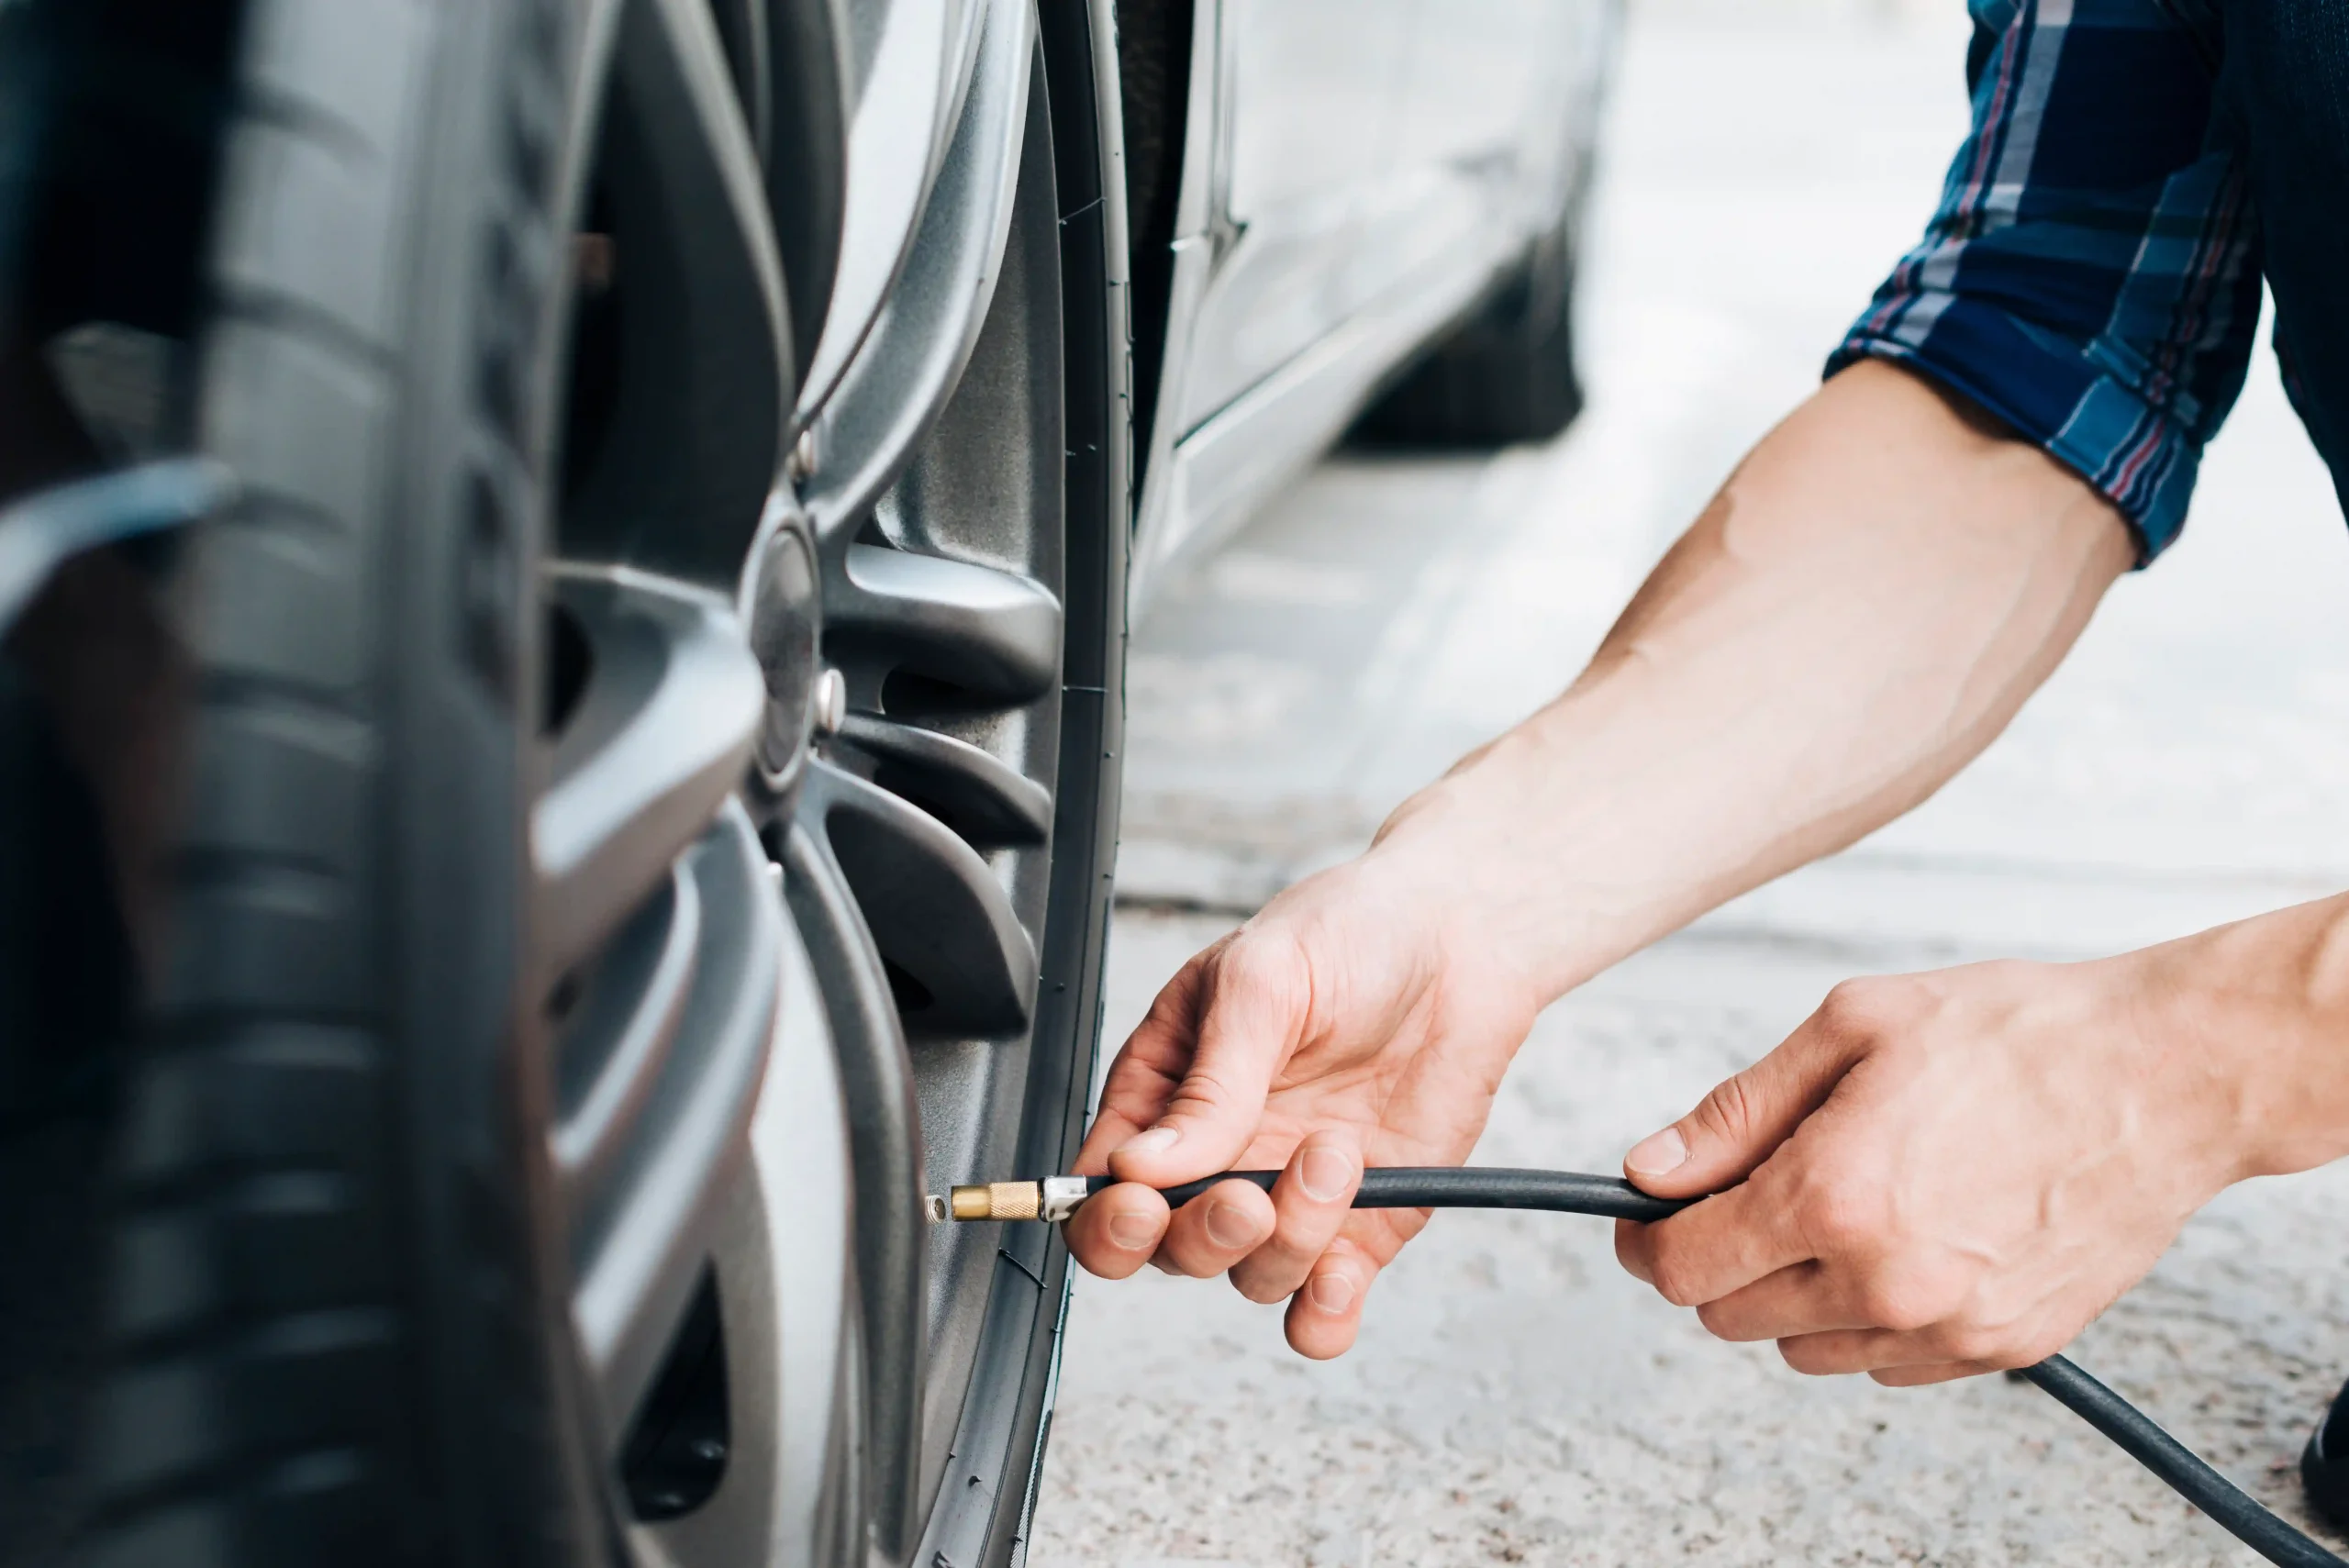
Step 15: Attach Nozzle to Valve Stem
Select the appropriate nozzle for your air compressor and attach it securely to the valve stem. Ensure a tight connection to prevent air leakage during inflation. Take a moment to confirm that the nozzle is firmly in place before proceeding with adding air to the tire.
Step 16: Ensure a Secure Connection
Before activating the air compressor, double-check that the connection between the nozzle and the valve stem is secure.
A proper seal prevents air from escaping, allowing you to inflate the tire effectively. Confirming a secure connection contributes to a safer and more efficient inflation process.
Step 17: Inflate Tires
With the air compressor connected, it’s time to add air to the tires. Follow these steps to inflate the tires properly, ensuring they reach the recommended pressure levels.
Step 18: Add Air in Short Bursts
Activate the air compressor in short bursts. This gradual approach allows you to monitor the tire pressure more effectively. Periodically check the pressure using the gauge to avoid overinflating the tires. Adding air slowly also provides a more accurate reading, facilitating precise adjustments.
Step 19:Check Pressure Frequently
Pause intermittently to check the tire pressure during the inflation process. Monitoring the pressure allows you to make real-time adjustments and prevents overinflation. Be attentive to any changes in the pressure reading and stop adding air when the desired pressure is reached.
Step 20: Stop When Desired Pressure is Reached
Cease the inflation process once the tire reaches the recommended pressure level. Achieving the correct pressure ensures optimal performance, safety, and fuel efficiency. Disconnect the air compressor carefully and proceed to the next steps to finalize the tire inflation process.
Step 21: Double-Check Pressure
After inflating the tires, it’s crucial to double-check the pressure to confirm that each tire meets the manufacturer’s recommendations.
How Do I Put the Right Amount of Air in My Tires?
Making your tires just right is easy. Your car has a special note (sticker) inside, usually on the driver’s side. It tells you how much air your tires need.
Get a tiny tool called a tire gauge, like a little ruler. Check your tire’s air using it. If it’s too low or too high, add or let out some air until it matches the number on the note. Your tires will be happy, and your car will go smoothly.
How to Inflate Car Tires? Some Maintenance Tips!
Inflating car tires is pretty easy. However, it’s a good idea to follow some tips. Here are a few of them!
Monitor Tire Pressure Regularly
Tire maintenance is an ongoing responsibility, and regular monitoring is essential for sustained performance and safety.
Schedule Routine Checks
Establish a schedule for routine tire pressure checks. It is also a good idea to rotate tires after certain intervals. Check out the detailed guide on tire rotation for more in-depth info.
Consistent monitoring allows you to identify any gradual pressure loss and address it promptly. Additionally, conduct checks before long journeys to ensure optimal tire performance.
Respond to Changes Promptly
If you notice any significant changes in tire pressure during routine checks, respond promptly. Investigate and address the underlying causes of pressure loss, such as punctures or leaks. Timely interventions contribute to prolonged tire life, fuel efficiency, and a safer driving experience.
Importance of Proper Tire Inflation
Maintaining the right tire pressure is essential for several reasons. Here are a few of them:
Enhanced Safety:
Proper tire inflation is like wearing a seatbelt for your car. It keeps you safe on the road.
When tires are inflated correctly, your car handles better, and you have more control, especially in emergencies.
Save Money, Save Fuel:
Inflated tires save you money on gas. It’s like giving your car a little extra energy efficiency boost.
When tires are low on air, your car has to work harder, using more gas. Keeping them properly inflated puts money back in your pocket.
Tire Longevity:
Just like how we need good shoes to walk comfortably, cars need well-inflated tires to roll smoothly.
Proper inflation means less wear and tear on your tires, making them last longer. It’s like giving your car a set of long-lasting shoes.
Promotes a Safe & Smooth Ride:
Imagine your car is a magic carpet. Well-inflated tires make the ride smooth and enjoyable.
It reduces bumps and shakes, giving you a comfortable drive. You won’t hear any weird noises after all. In case it does, here is our detailed guide on why is my car making word noises.
Environmentally Friendly:
Proper tire inflation is like being kind to the Earth. It reduces the carbon footprint of your car. When your tires are inflated right, your car emits fewer harmful gases into the air. It’s a small act that helps keep our planet cleaner and greener.
Benefits of Maintaining Correct Tire Pressure
The benefits of maintaining correct tire pressure extend beyond safety and fuel efficiency. Here are some of its benefits:
Reduced Accidents Risk
When your tires are properly inflated, your vehicle handles more predictably, reducing the risk of accidents.
Ensures a Peaceful Drive
Also, properly inflated tires contribute to a smoother ride, minimizing vibrations and improving overall driving comfort
Better Fuel Economy
The right tire pressure helps achieve good fuel economy. That’s because an inflated tire reduces the friction level between its surface and the road. This puts less load on the engine hence, you get a slightly better fuel average.
Ending Thoughts!
Now, you know pretty much all about how to inflate car tires. It is a fundamental aspect of vehicle maintenance. You only need some DIY experience related to cars and a tire pressure gauge. In this regard, regular tire rotations and maintaining the right car tire pressure are also necessary.
Knowing how to let air out of tires can also be helpful here. This way, you can easily inflate car tires at home or gas stations.