Suspension noise in a vehicle can be annoying and potentially indicate underlying issues. Addressing suspension problems promptly is crucial to ensure safe and smooth driving. This guide will explore the steps to diagnose and fix suspension noise effectively.
How to Identify Suspension Noise?
When it comes to addressing suspension noise in your vehicle, a comprehensive inspection is the first step toward finding a solution. Here’s how to effectively diagnose and identify the root cause of the noise:
1: Identifying the Type of Noise
Suspension noise can manifest in various forms, including clunks, squeaks, rattles, or groans. Understanding the type of noise can provide valuable clues about potential issues.
For example, a clunking noise when going over bumps might indicate worn ball joints or loose control arms, while a squeaking noise during turns could point to damaged sway bar links or worn bushings.
2: Test Drive to Confirm Noise
Once you’ve completed the visual inspection, take your vehicle for a test drive to confirm the presence of the noise and gather more information. Pay attention to when the noise occurs, whether it’s during acceleration, braking, turning, or driving over bumps. Note any specific conditions or maneuvers that seem to trigger the noise.
During the test drive, listen carefully for the noise and try to pinpoint its location within the vehicle. Does it seem to be coming from the front or rear suspension? Is it more pronounced on one side of the vehicle? Taking note of these details can help narrow down the possible causes of the noise.
Common Causes of Suspension Noise
Suspension noise in vehicles can stem from various underlying issues. Here are the primary culprits to be aware of:
Worn Bushings:
Over time, the rubber bushings that cushion and support suspension components can wear out, leading to excess movement and noise.
Faulty Shock Absorbers:
If the shock absorbers are worn or damaged, they may no longer effectively dampen the movement of the suspension, resulting in noise and reduced ride quality.
Damaged Struts:
Similar to shock absorbers, damaged or worn struts can cause noise and instability in the suspension system, particularly when driving over bumps or rough roads.
Loose Ball Joints:
Ball joints connect the suspension components to the steering knuckles and allow for movement. When these joints become loose or worn, they can cause clunking or rattling noises, especially during turns or overbumps.
Worn Sway Bar Links:
Sway bar links connect the sway bar (also known as the stabilizer bar) to the suspension components. If these links become worn or damaged, they can produce clunking or squeaking noises, particularly when driving over uneven surfaces or making turns.
Problems with Control Arms:
Control arms play a critical role in maintaining the stability and alignment of the suspension system. If the control arms are bent, worn, or damaged, they can cause noise and affect the vehicle’s handling and ride quality.
How to Fix Suspension Noise? Easy Steps!
Addressing suspension noise requires a systematic approach to diagnose and rectify underlying issues. Here’s a detailed breakdown of the steps involved in fixing suspension noise:
Tools and Equipment Needed:
- Floor jack and jack stands for safely lifting and supporting the vehicle
- Socket set and wrenches for removing and installing suspension components
- Ball joint press or specialty tools for pressing out and installing ball joints
- Torque wrench for tightening fasteners to the manufacturer’s specifications
- Lubricant for lubricating bushings and other moving components
- Safety equipment such as gloves and eye protection
Step 1. Bushing Replacement:
- Bushings are rubber or polyurethane components that cushion and support suspension parts. To replace worn bushings, begin by safely lifting and supporting the vehicle.
- Remove the affected suspension components, such as control arms or sway bar links, to access the bushings.
- Use appropriate tools to press out the old bushings and press in new ones. Lubricate the new bushings before installation to ensure smooth operation.
- Reinstall the suspension components and torque the fasteners to the manufacturer’s specifications.
Step 2. Shock Absorber and Strut Replacement:
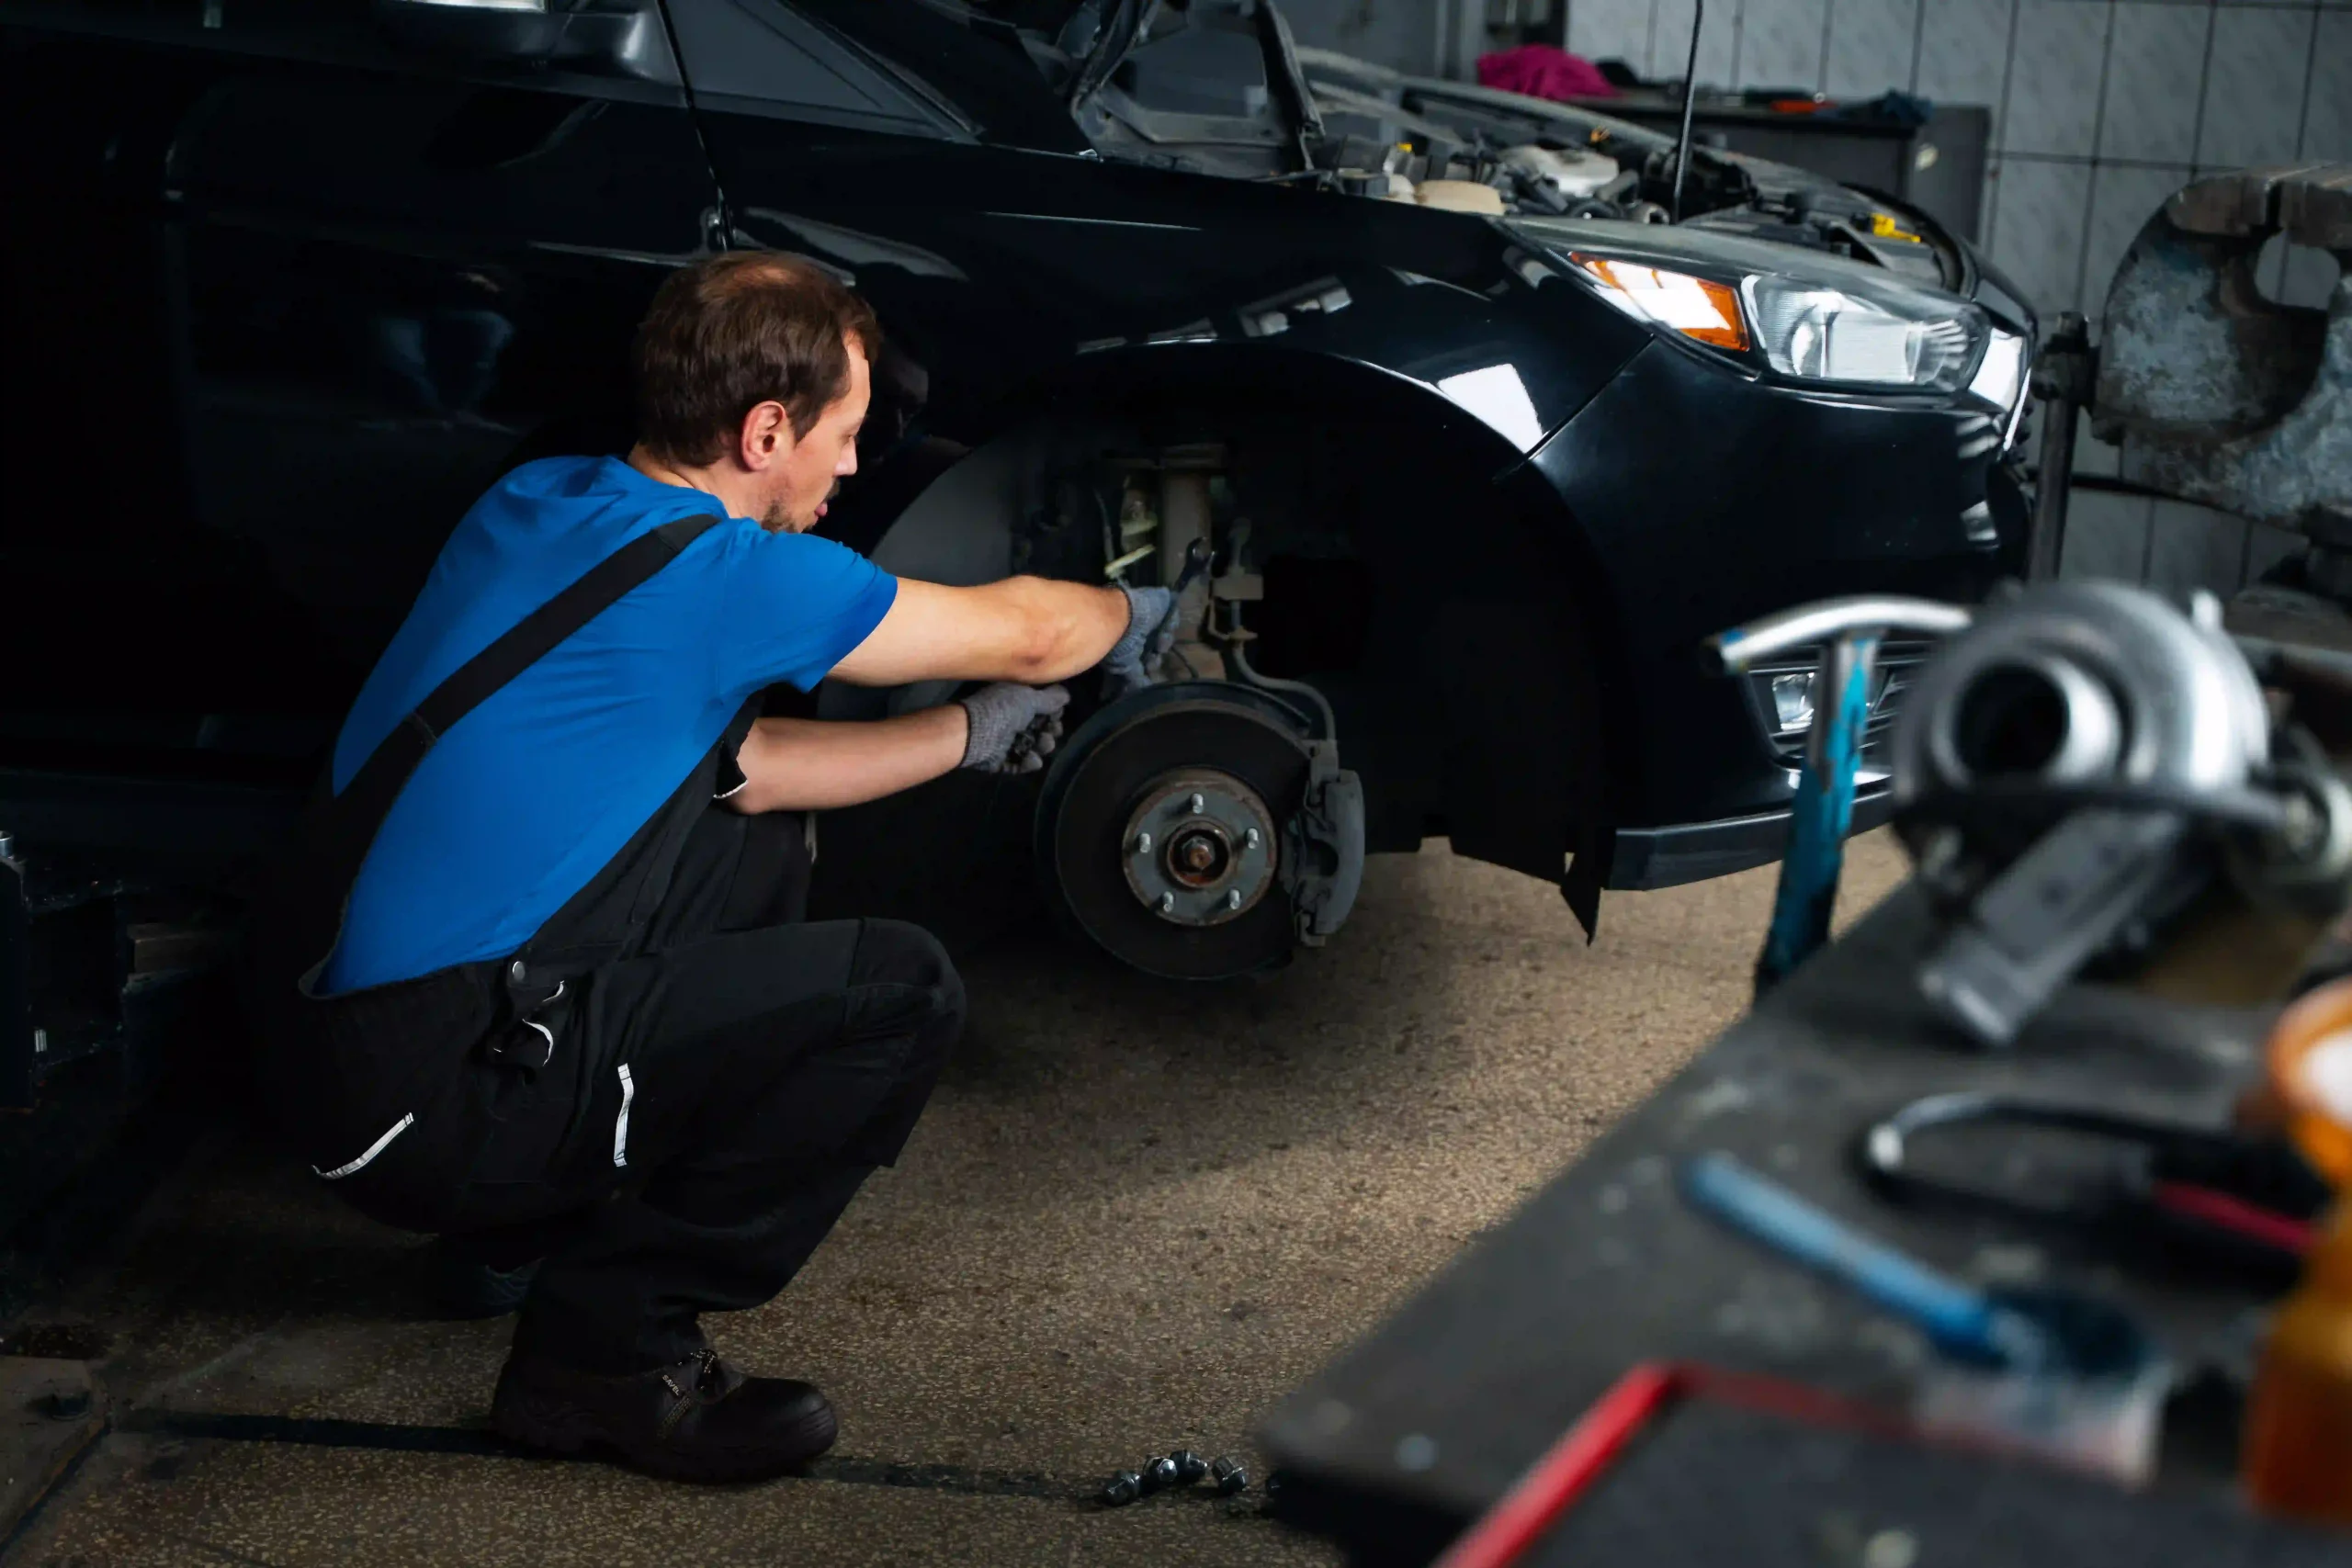
- Worn or damaged shock absorbers and struts can contribute to suspension noise and compromise ride quality. Begin by safely raising the vehicle and supporting it with jack stands.
- Remove the wheel and locate the shock absorber or strut assembly. Depending on the vehicle, additional components such as brake lines or sway bar links may need to be disconnected.
- Use appropriate tools to remove the old shock absorber or strut assembly and install the new one. Follow the manufacturer’s instructions for proper installation and torque specifications.
- Reinstall any additional components that were removed and ensure everything is securely fastened before lowering the vehicle.
Step 3. Ball Joint Replacement:
- Loose or worn ball joints can cause clunking or rattling noises in the suspension. Begin by safely raising the vehicle and supporting it with jack stands.
- Locate the ball joint on the suspension component and remove any surrounding components necessary to access it.
- Use a ball joint press or appropriate tools to remove the old ball joint and install the new one. Ensure proper alignment and torque specifications during installation.
- Reassemble any removed components and perform a thorough inspection before lowering the vehicle.
Step 4. Sway Bar Link Replacement:
- Worn or damaged sway bar links can produce clunking or squeaking noises in the suspension. Begin by safely lifting the vehicle and supporting it with jack stands.
- Locate the sway bar link connected to the sway bar and suspension components. Remove any fasteners or bushings securing the link.
- Use appropriate tools to remove the old sway bar link and install the new one. Ensure proper alignment and torque specifications during installation.
- Reinstall any removed components and perform a final inspection before lowering the vehicle.
Step 5. Control Arm Replacement:
- Damaged or worn control arms can affect suspension performance and contribute to noise. Begin by safely lifting the vehicle and supporting it with jack stands.
- Locate the control arm(s) on the suspension and remove any surrounding components necessary to access them.
- Use appropriate tools to remove the old control arm(s) and install the new one(s). Ensure proper alignment and torque specifications during installation.
- Reassemble any removed components and perform a thorough inspection before lowering the vehicle.
Step 6. Tightening Loose Components:
- In some cases, suspension noise may be caused by loose or improperly tightened components. Begin by visually inspecting the suspension system for any loose fasteners or components.
- Use appropriate tools to tighten any loose bolts, nuts, or fittings. Be sure to follow the manufacturer’s torque specifications to avoid over-tightening or damaging components.
- Perform a test drive to confirm that the suspension noise has been eliminated and that the vehicle handles properly.
Final Thoughts!
In summary, fixing suspension noise requires a systematic approach involving inspection, diagnosis, and targeted repairs. By identifying common causes such as worn bushings, faulty shock absorbers, and loose components, you can address the underlying issues effectively.
Replacement of damaged parts such as ball joints, sway bar links, and control arms may be necessary to restore optimal suspension function. Additionally, tightening loose components and following proper installation procedures are essential for long-term success.
With the right tools, equipment, and attention to detail, you can eliminate suspension noise and enjoy a smoother, safer driving experience.